Create a JupyterLab Application
This guide explains how to add the JupyterLab package to your Plexus applications and use it. Before continuing, read Create a Docker application.

Create application
After reading Create a Docker application, you can configure the application using the JupyterLab package provided by Plexus. SSH access is available automatically since the SSH server is installed for every interactive application.
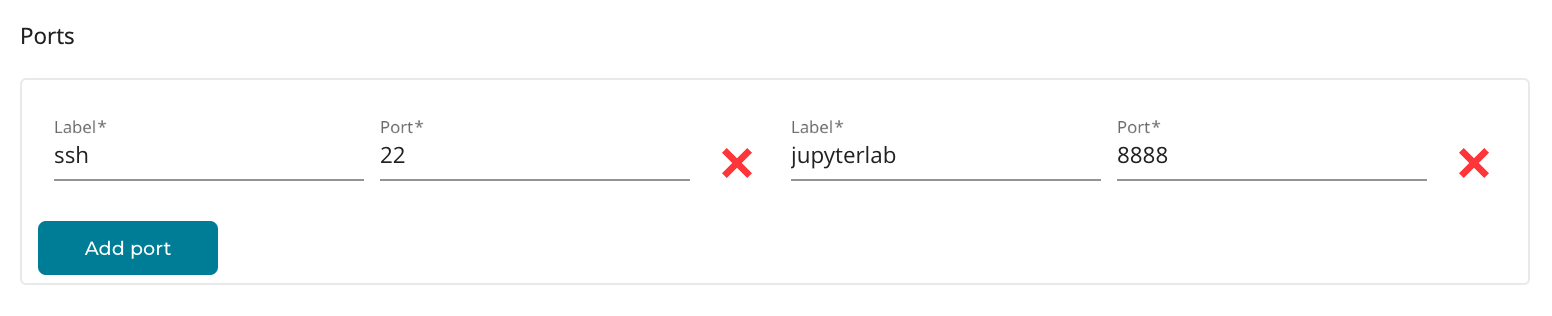
Configure ports
This is an interactive application, so configure it as a service and expose:
- JupyterLab: port 8888
- SSH: port 22
Configure container
Configure the required fields as described in Create a Docker application.

Readiness probe
Set the readiness script provided by the JupyterLab package: curl 0.0.0.0:8888.
Run script
Plexus sets up JupyterLab and exposes the secure access token via the PLEXUS_SECRET_KEY environment variable.
Note
The SSH server is installed automatically for every interactive application, so no manual SSH setup is required.
The script performs the following tasks:
- Install JupyterLab version 4.2.5.
- Launch JupyterLab with specified configurations, including token-based authentication, Bash terminal settings, and root access.
pip install jupyterlab==4.2.5

jupyter lab --notebook-dir=/home/aac --ip 0.0.0.0 --no-browser --allow-root --NotebookApp.token=$PLEXUS_SECRET_KEY --NotebookApp.terminado_settings="{'shell_command': ['/bin/bash']}"
Application execution
You can run the application in any queue with GPU. The endpoints appear on the right side of the workload view.
JupyterLab
- Select the JupyterLab endpoint.
- Copy the secret key.
- Click Connect.
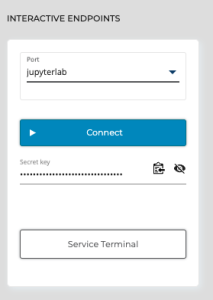
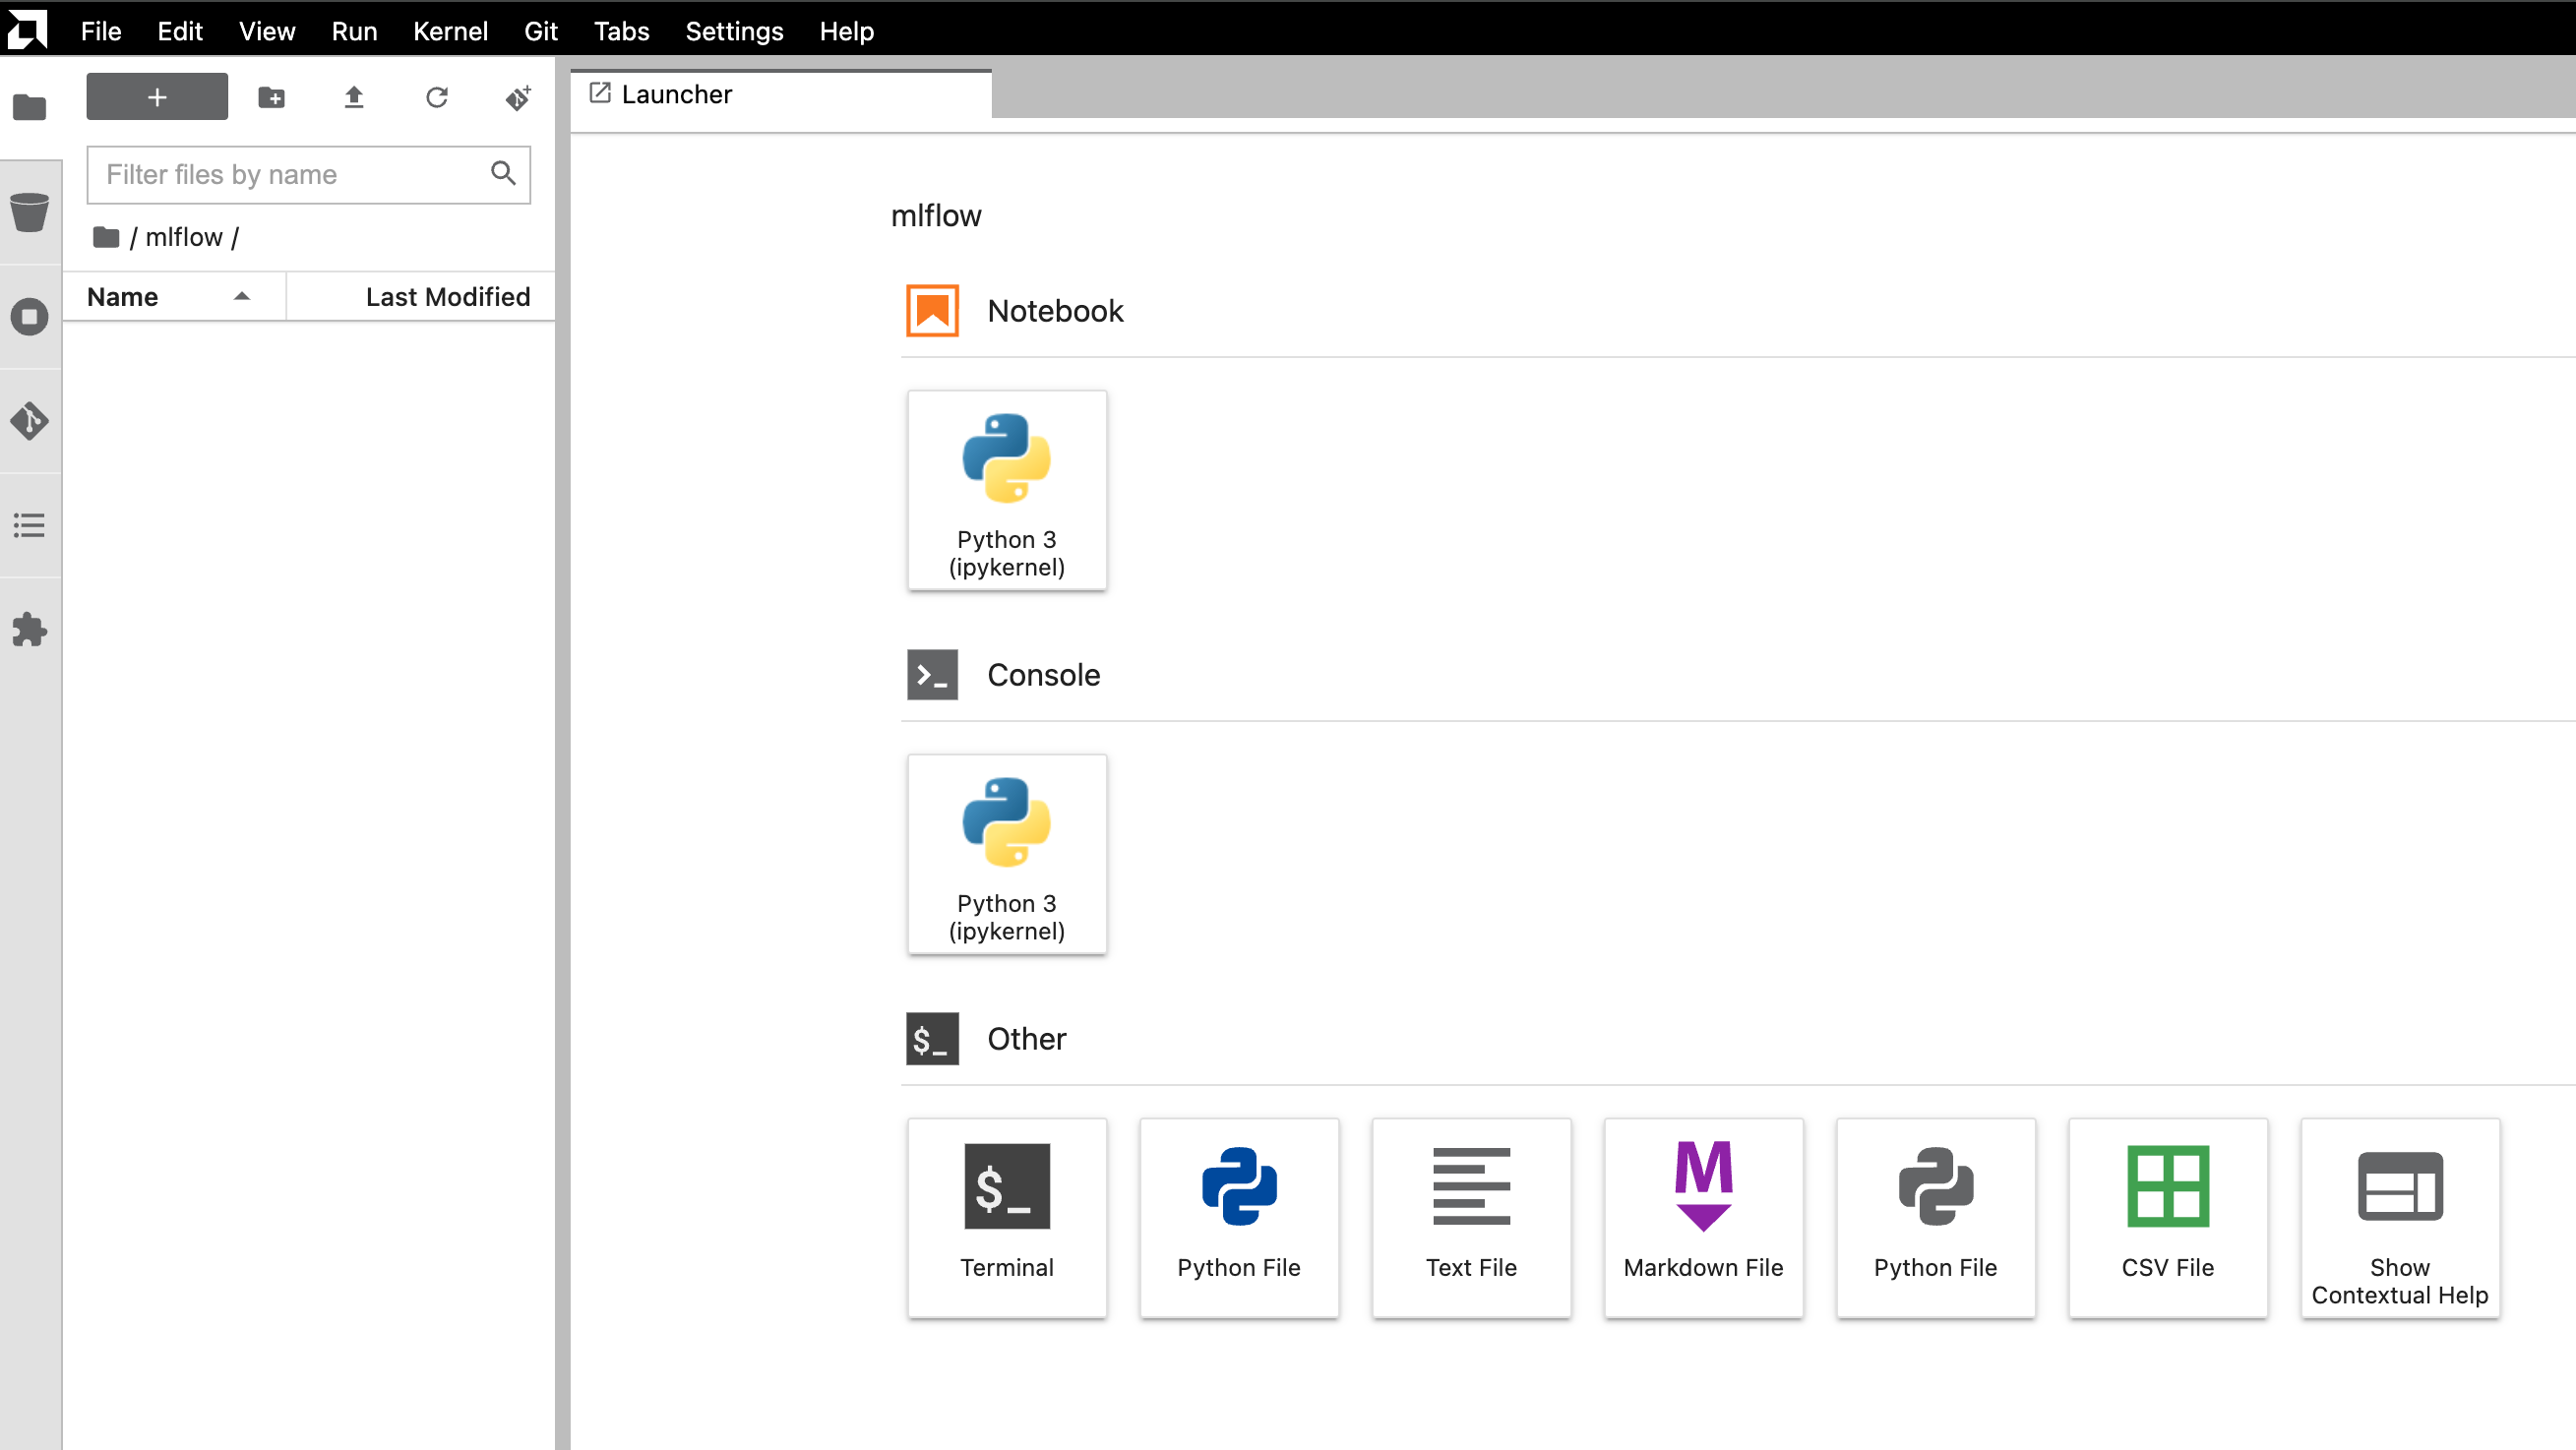
Use the secret key to log in to JupyterLab.

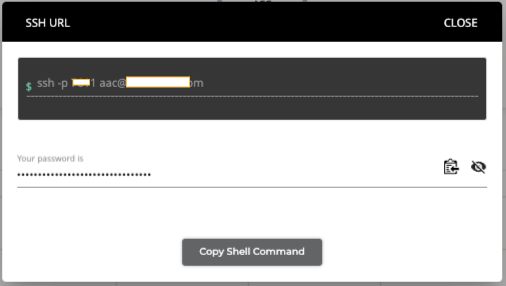
SSH
- Select the SSH endpoint.
- Click Connect.
- Copy the shell command and run it in your terminal.
- Use the password shown in the window.